The thirty-second dry test
- Dry everything with a paper towel — the joint, the handle, the length of the hose, the wall plate. Get it genuinely dry.
- Run the spray for thirty seconds, then shut it off and watch. Don't wipe anything.
- Follow the first wet spot. Water runs downhill, so the leak is usually the highest wet point — not wherever it finally drips onto the floor.
One extra detail worth watching for: does it leak while you're spraying, or all the time? A leak that only appears with the spray running points at a joint under pressure; a drip that continues when the valve is shut points at the valve itself. That single observation splits the four cases below in half.
Leaking at the joint where the head meets the hose
What you see: water weeping right where the head threads onto the hose, often running down the hose body, and usually only while spraying.
What it is: the seal at that joint isn't the threads — it's the washer and the O-ring sitting inside the connection. Those are the parts that wear first, and no joint in the assembly gets opened as often as this one — so this is where the first check goes. A washer that's missing, hardened, or knocked out of its seat when someone swapped the head is the usual finding. This is genuinely the cheapest failure in the whole assembly.
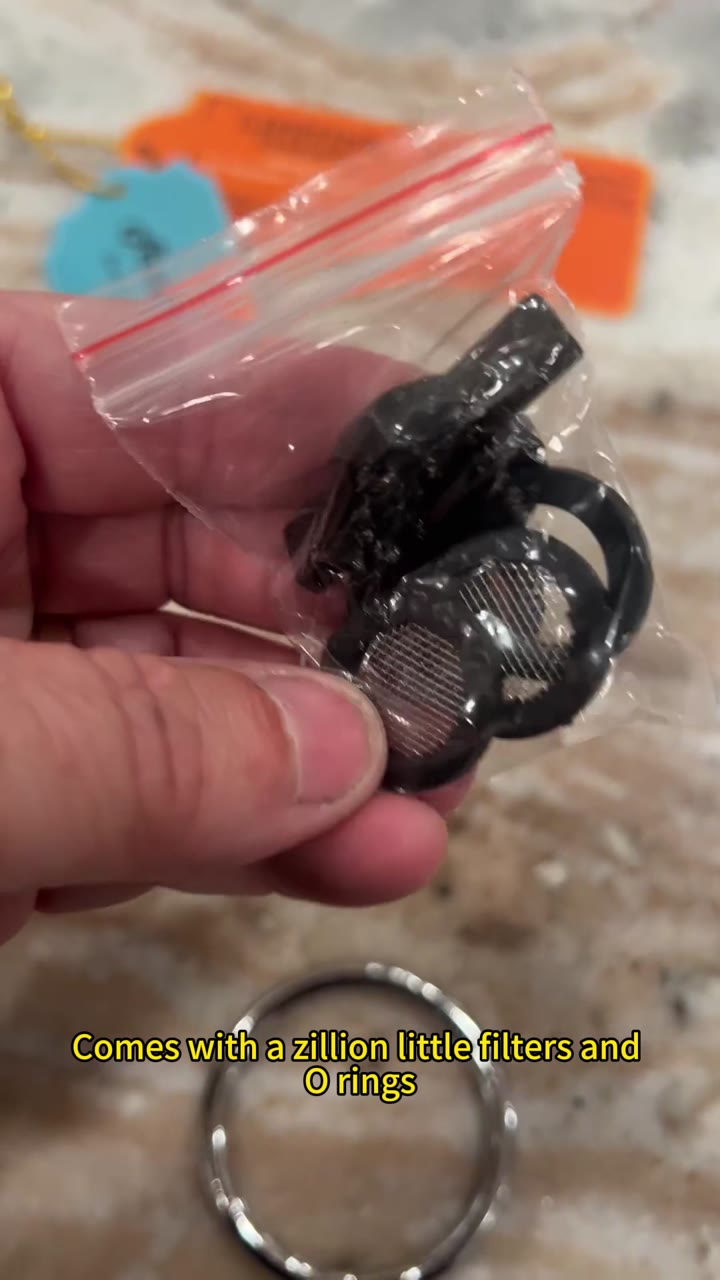
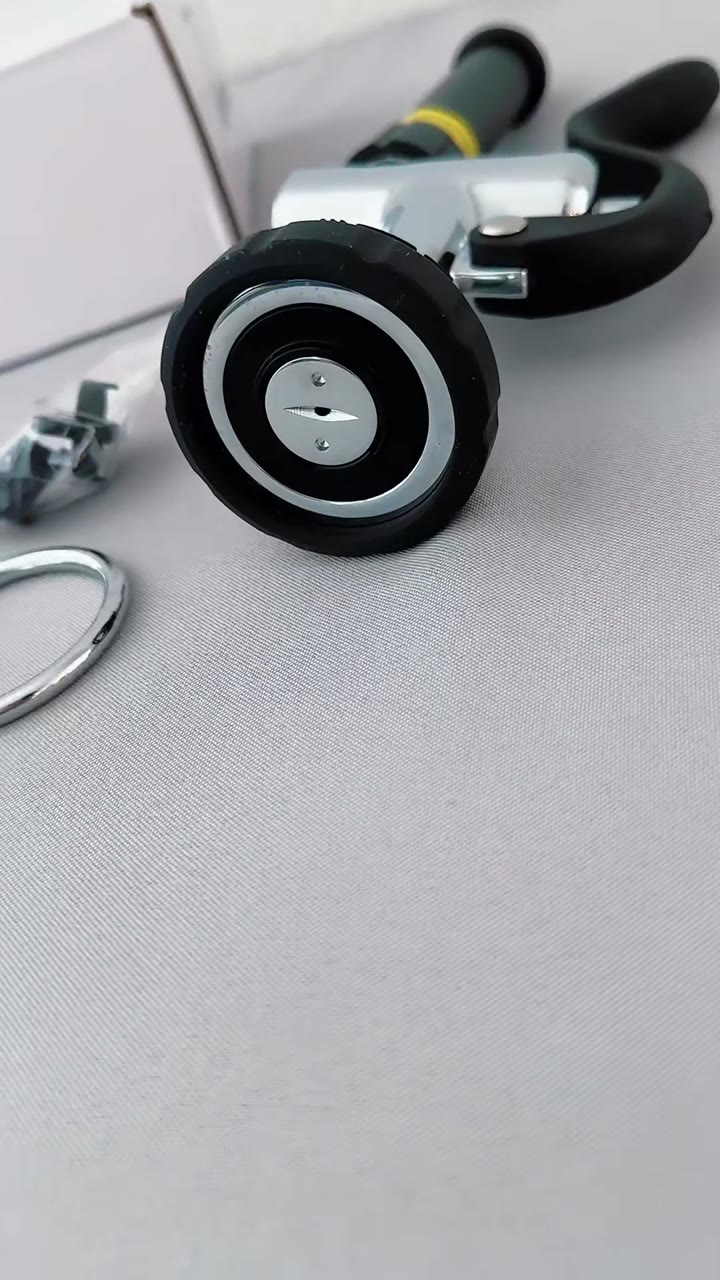
The fix: shut off the supply, unscrew the head, and look inside the hose end. Confirm the washer is present, flat and not chewed up; check the O-ring on the head's inlet for nicks. Reseat or replace, then hand-tighten — the seal is the gasket, so if it's leaking, a worn or missing washer is almost always the answer rather than anything you'd wrap around the threads. Every Achelous head ships with a spare filter, O-rings and lubricant precisely because these are the parts that age; if the original washer is gone, you may already have a replacement in the box.
Dripping at the handle or the valve stem
What you see: water at the base of the handle, under the lever, or a slow drip that continues after you release the spray — and gets worse the longer the valve has been in service.
What it is: the valve body or its internal stem packing, not the spray head. We'll be blunt about this one because it costs people money: a new spray head cannot fix this. If the drip continues with the valve shut, the head is doing nothing wrong at all.
The fix: on a serviceable body, a rebuild kit replaces the internal wear parts; if the body is shot, replacing the valve is the answer. Which of those two wins depends on your labour rates as much as the parts, so we laid out the method rather than a fake number in rebuild or replace.
Water along the hose, or a drip mid-length
What you see: a wet patch partway down the hose, water appearing at the crimp where the fitting meets the rubber, or a bulge you can feel. Often it drips onto the sink and gets blamed on something else entirely.
What it is: the hose is the most flexed part of the assembly — it bends hundreds of times a shift, and it fails at the crimp or at a chronic kink. Nothing here is repairable; a split hose is a replaced hose.
The fix: replace the hose. Measure before you order, because length is the part people get wrong: measure from where the hose leaves the riser to the far side of the sink and give yourself reach for the biggest pan you actually wash. The 18, 38 or 45 inch guide walks through the measurement, and the lineup page has all three lengths.
Water at the wall, the riser or the base
What you see: staining or a wet patch on the wall behind the unit, water pooling around the base, or a unit that moves when you pull the hose.
What it is: the structural half of the assembly — the riser, the wall bracket, the mounting or the supply connection behind the wall. This is the one leak that ends in a whole-unit or plumbing job rather than a part, and we say so plainly: the head-or-unit guide covers those cases.
One caution: before you assume the mount has failed, run the dry test again and follow the water uphill. A leak at the supply fitting above the unit — or a drip from the valve that has been running down the riser for weeks — shows up as "water at the wall" while the wall itself is innocent.
The four cases on one line each
| Where it's wet | Part at fault | Fix |
|---|---|---|
| At the head/hose joint | Washer or O-ring | Reseat or replace — cheapest fix on the list |
| At the handle, or dripping when shut | Valve body / stem packing | Rebuild or replace the valve |
| Along the hose or at the crimp | The hose itself | Replace the hose — measure the length first |
| At the wall, riser or base | Bracket, mount or supply fitting | Plumbing / assembly-level job |
Check them in that order — cheapest first, because that is also the order that costs you least to be wrong about. Which is why "replace the sprayer" so often turns out to be an expensive way to solve a five-dollar problem.
What we won't claim
- A new head fixes exactly one of these four cases. If you're leaking at the handle, the hose or the wall, buying a head from us is the wrong purchase and we'd rather say so here than have you find out after it arrives.
- We won't tell you a leaking joint is always the washer. It usually is — especially right after a head swap — but a cracked hose end or a damaged seat does happen. If a fresh washer doesn't seal it, describe what you see and ask us directly rather than buying parts by guesswork.
- Commercial part, standard thread. Our heads fit the 7/8”-20 UNEF hose end used on US pre-rinse assemblies; the lifetime warranty card covers the head, with [email protected] printed on it.
The short version
Dry it, run it, follow the first wet spot: joint means washer, handle means valve, hose means hose, wall means plumbing. Three of those four are parts you can hold in one hand, and the cheapest of them is also the one worth checking first. Knowing which is leaking is most of the repair.
Not sure which case you've got? Describe the leak in three lines — we answer with measurements, not sales talk.