A pre-rinse setup is five parts, not one
People say "the sprayer" the way they say "the car" — as if it were one thing. Under the sink it is five things that wear out independently, and they fail at different ages for different reasons:
- The spray head — the nozzle and the face with the holes in it. Fails slowly, by scaling up or wearing at the spray face.
- The hose — flexible, and the part that flexes a hundred times a shift. Fails at the crimp or at the end washer.
- The valve body and handle — the tap that meters water. Fails by dripping or by refusing to shut off.
- The riser, bracket or deck mount — purely structural. Fails only from corrosion, abuse, or a bad original install.
- The supply fittings — usually fine until someone re-plumbs the sink.
The useful part of that list: most of the time, only the first one or two have actually failed. The rest is being replaced for free at your expense.
Match the symptom to the part
Symptoms point to parts more reliably than age does. Read down the left column until one of these sounds like your sink:
| What you see | Part at fault | Right fix |
|---|---|---|
| Pattern weak, ragged, or spraying sideways after months of working fine | Spray face — scale | Descale first. Free, 30 minutes, fixes most of these. |
| Pattern weak even after descaling; face pitted or the jet shaped wrong | Spray head | Head only — if the thread matches and the valve shuts off clean. |
| Drip or spray leaking at the joint where head meets hose | Hose end washer or O-ring | Washer / O-ring. Cheapest part on the whole assembly. |
| Water dripping from the handle, or the valve won't shut off fully | Valve body or stem packing | Rebuild kit, or replace the valve. A new head changes nothing. |
| Rusted bracket, wobbling unit, water at the wall, stripped anchor | Riser / bracket / mount | Assembly level. Honest answer: this is a whole-unit job. |
| Nothing is broken — you're just tired of one pattern for every job | The pattern itself | Head only. This is the upgrade case. |
When a new head alone is the right answer
Three conditions, all of them cheap to check:
- The thread matches. American commercial pre-rinse assemblies almost all use the same hose-end thread: 7/8”-20 UNEF (22.2 mm across, 20 threads per inch). If yours does, a new head threads straight on — no adapters, no plumber.
- The valve body shuts off clean. Turn it on, turn it off, dry the outlet. If it stays dry at the handle, the valve isn't your problem and there's no reason to pay for a new one.
- The mount is sound. Grab the riser and push. If nothing moves and nothing is rusting through, leave it alone.
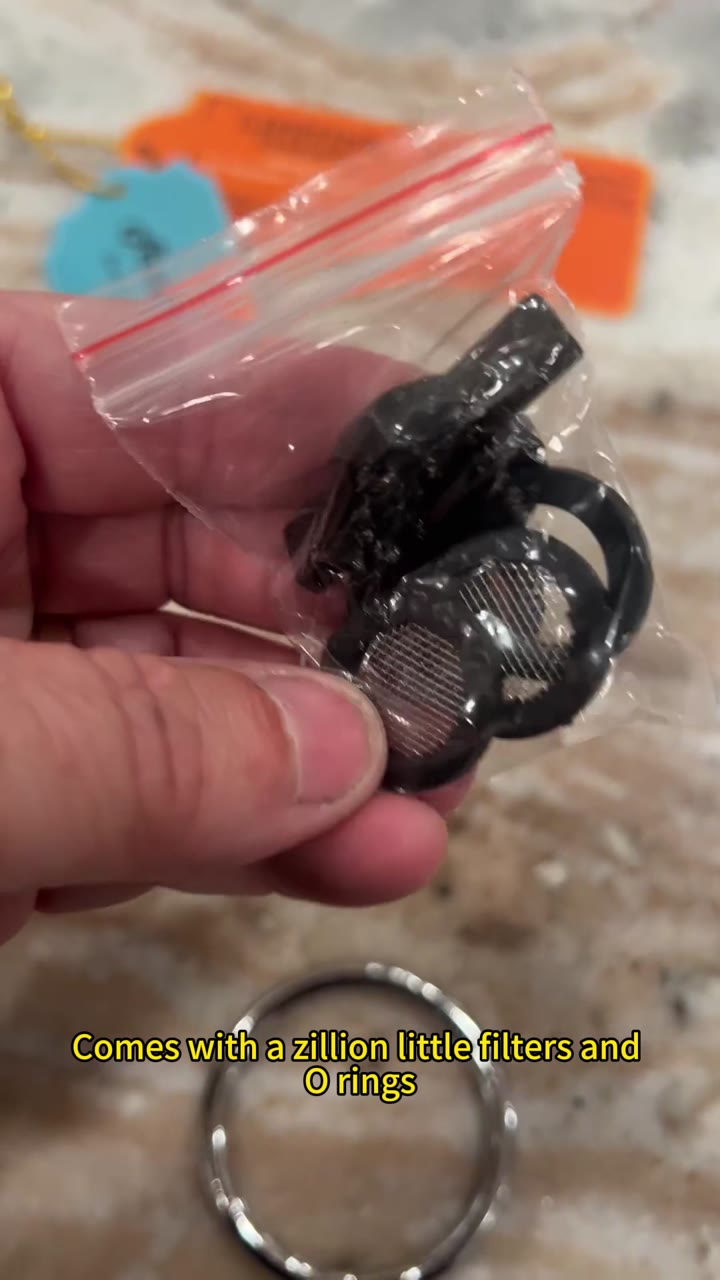
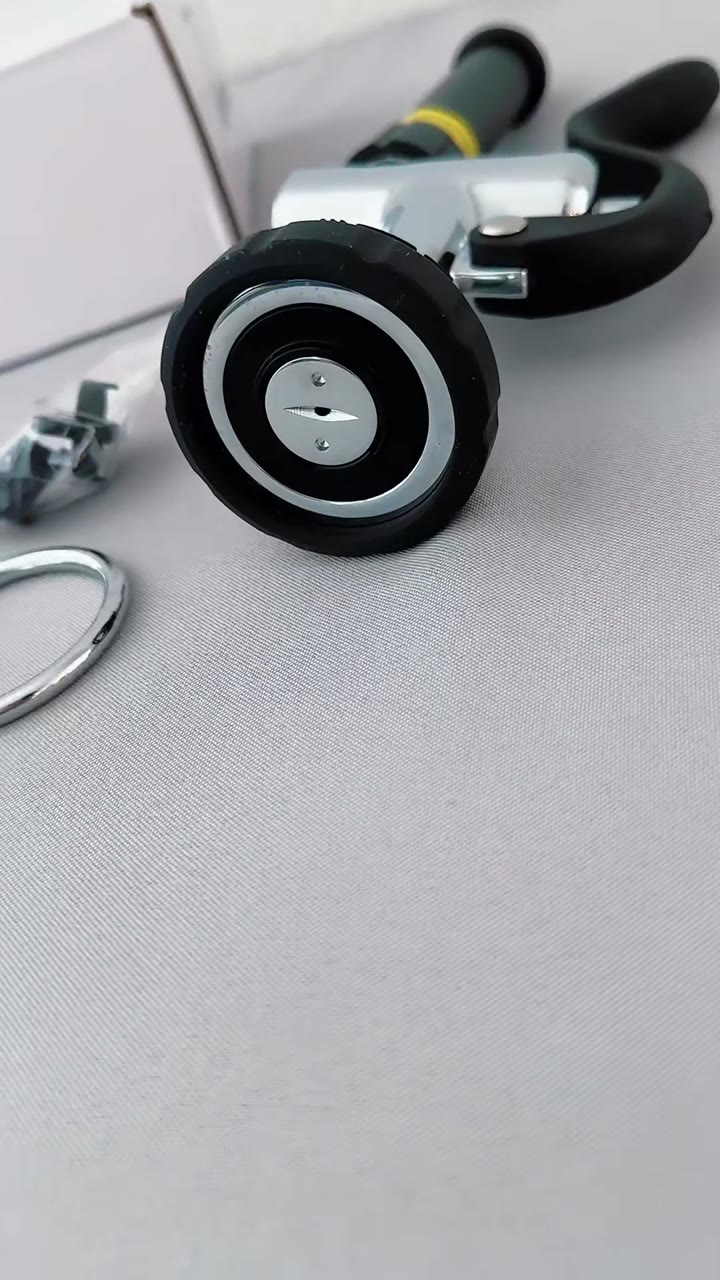
When all three hold, the swap itself is genuinely a two-minute job: shut off the supply, turn the old head off the hose, turn the new one on. Ours is designed to make that step even simpler — a snap ring you work with one hand, no tools, so the same mechanism you use to latch the spray on for a long rinse is the one that lets you swap the head at the hose end. The box also carries a spare filter, O-rings and lubricant, because these are the parts that actually wear.
If your thread is uncertain, measure first — the sixty-second checker explains exactly what to measure, and the fit guide covers the near-miss sizes people confuse it with.
When the whole unit is the honest answer
We sell heads, so it would suit us if every problem were a head problem. It isn't. Replace the assembly when:
- The valve body leaks at the stem or the handle. This is the most common assembly-level failure, and no spray head fixes it. Sometimes a rebuild kit is genuinely the cheaper call — we run the math in rebuild or replace rather than guess at it.
- The riser, wall bracket or anchor has gone. Rust, wobble, or water staining at the wall means the structural half of the assembly is done. That's a wall job, not a parts job.
- The unit is a no-name assembly with non-standard fittings. If the hose end isn't a standard commercial thread and no adapter exists, hunting for individual parts costs more in time than a standard assembly is worth.
- You're changing the geometry anyway. Moving from wall-mount to deck-mount, or adding reach for a bigger sink, means new everything by definition.
The middle option people forget: the hose
Between "head" and "whole unit" sits the part that fails most often and costs the least: the hose. A leaking crimp, a split at the bend, or a hose that's simply too short or too long for your sink is a hose replacement — not a head, not a unit. Length is the part people get wrong: it's decided by the distance from your riser to the far side of the sink, and we walk through the measurement in the 18, 38 or 45 inch guide.
What this article won't tell you
- We won't give you a price comparison. The head-versus-unit decision turns on local labour rates and your market's parts pricing, and a number invented on a blog is worse than no number. Our rebuild math page shows the method so you can plug in your own figures.
- A new head won't fix a dripping valve. If the handle drips, buy the rebuild kit or the valve. Replacing the head first just delays it.
- Two spray patterns won't fix scale. If the spray has gone weak, descale before you buy anything — we wrote the free vinegar method for exactly this, and it's the first thing we tell people, even though the alternative is that they buy a head from us.
- It's a commercial part. 7/8”-20 UNEF, for pre-rinse assemblies. Not for household faucets, not for NPT threads — and the lifetime warranty card covers the head, with [email protected] printed on it.
The three-minute check before you order anything
- Where is the water coming out? Wrong shape from the nozzle → head. Somewhere it shouldn't → look below the head.
- Does the valve shut off clean? If yes, you almost certainly don't need a new valve or a new unit.
- What's your hose-end thread? 7/8”-20 UNEF (22.2 mm / 20 TPI) and you can fit any standard head. Anything else, ask before ordering.
Three minutes of checking is cheaper than one return, and much cheaper than a new assembly you didn't need.
The short version
A pre-rinse setup is five parts and usually one of them is broken. Water coming out of the nozzle wrong means the head (after you rule out scale). Water coming out where it shouldn't means the joint, the valve, or the wall — and a new head won't help. Match the symptom to the part, check the thread and the shut-off before you buy, and replace the smallest thing that explains what you're seeing.
Not sure which part failed? Describe it in three lines — we answer fit questions with measurements, not sales talk.