The thirty-second test
Dry the joint with a paper towel, then run the water for a few seconds and watch. If water shows up at the screw line between head and hose — not from the spray face, not from the valve handle — you have the "joint" leak. That is the case this article is about; the four-leak-point guide lays out the other three so you don't misfire.
Why a washer, and not the thread
The joint seals on a washer compressed at the face of the fitting. The threads only hold the two parts together; they are not what stops the water. So when a drip appears at the screw line, the washer is the first suspect: it is old, it is pinched, or — most often — there are now two of them because the previous one never came out.
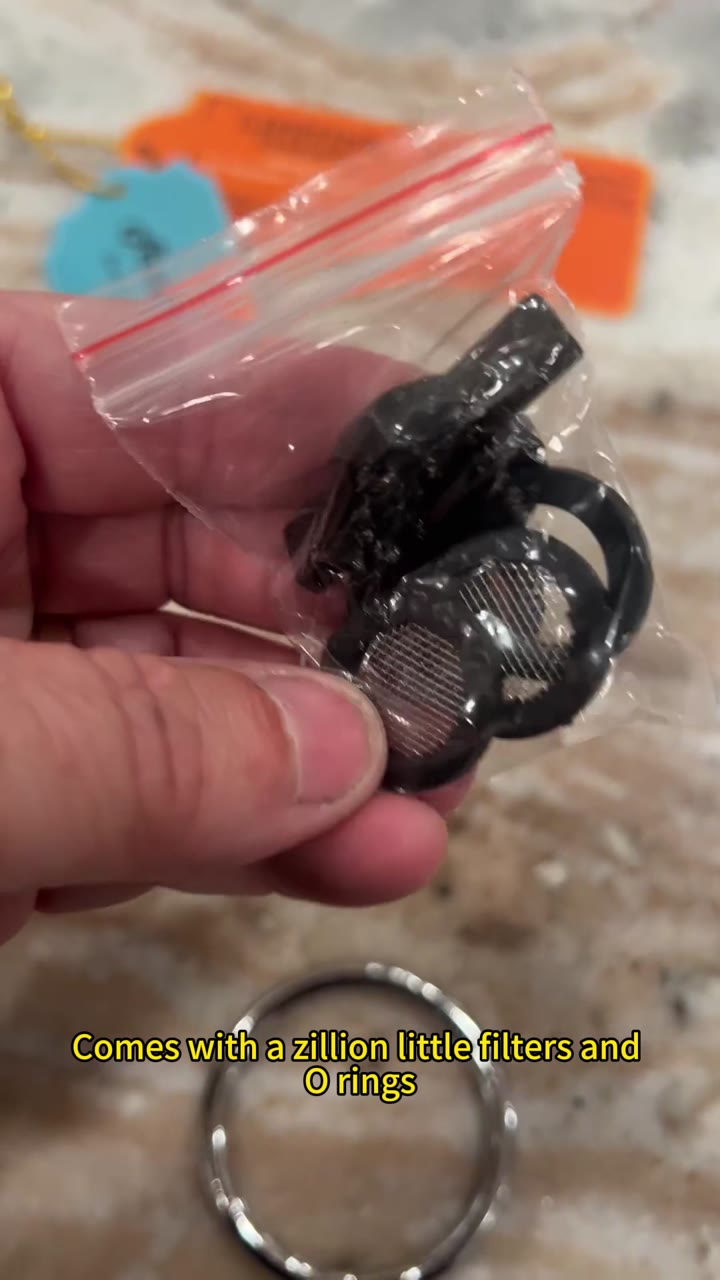
What the old washer is hiding
Unscrew the head and look at the hose end first. Very often the previous washer is still seated inside the hose, and screwing the new head down on top of it means it can never seat properly — so it leaks. Remove it. Then look at the washer that came with the head: it should be flat, un-cracked, and sitting cleanly in its own seat, not twisted.
Tighten, don't tape
Hand-tight plus a small turn is enough; the washer does the sealing, the thread only holds. Thread tape does nothing useful on a face-sealed joint and the shreds it leaves can travel downstream into the smallest openings in the system — the holes in your spray face. You fix a leak that wasn't there and create a blockage that is. The full reasoning is on the remove and replace page.
Which is why a spare washer in the box matters more than it looks. Ours ships with spares, so a lost or cracked washer is a five-minute fix rather than an order — and if the head itself is sound, the five-detail check explains what else to inspect before you replace anything.
What we won't claim
- We won't say a washer fixes every joint leak. A cracked head casting or a damaged hose end needs the part, not a washer — the test above tells you which.
- We won't quote a "most common fault" rate. We don't run a repair census, so any percentage would be invented. The washer is the first thing to check, not a probability.
- We can't see your fitting. The steps above are what we'd run on our own; if the leak survives a fresh, properly seated washer, the photo to send is on the fit question page.
The short version
Dry it, run it, watch where the water appears. At the screw line = washer. Pull the old one out of the hose end, fit a fresh flat washer, hand-tight plus a turn, and skip the tape. If it still leaks, the casting or hose end is the real problem — and that is a part, not a seal.
Send a photo of the leaking joint — we'll tell you which part to order, not just "buy a new one".